Staging | Create the data model with attributes and classes
Similar to setting up a data model in PIM, you first create the required attributes in Staging.
Procedure
Create a system backup in advance as a precaution.
Import an XML file with the product data to be imported using an Integration Import. You can also successively upload several XML files (e.g. MATMAS, CLFMAS, BOMMAT) and build up the data model step by step.
Download the processed XML file (see Integration Suite | Active scripts | Import objects / export objects > Toolbar | Download XML)
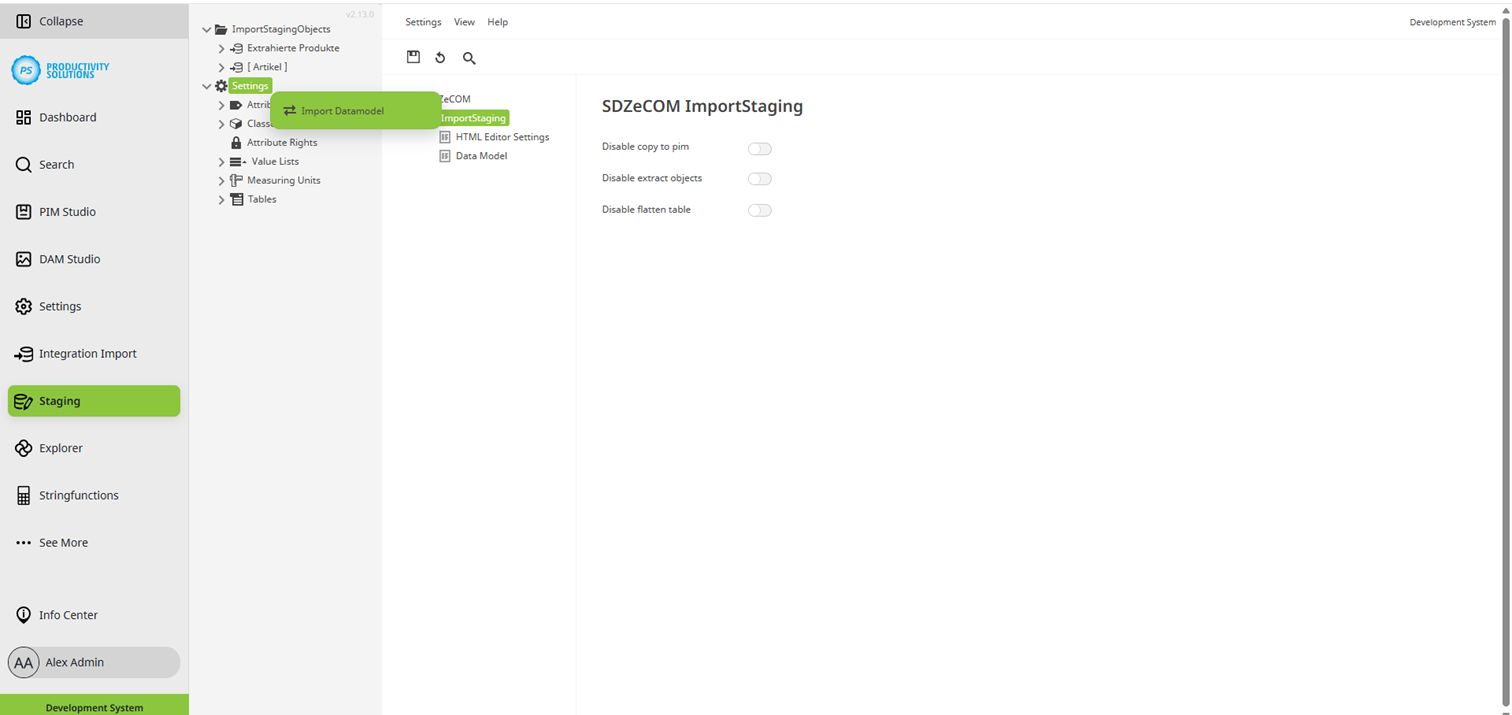
Right-click on “Settings” in the object tree in the Staging Studio
Click on “Import data model” and confirm the question about the backup if you have created it in advance. Otherwise, you should do this later.
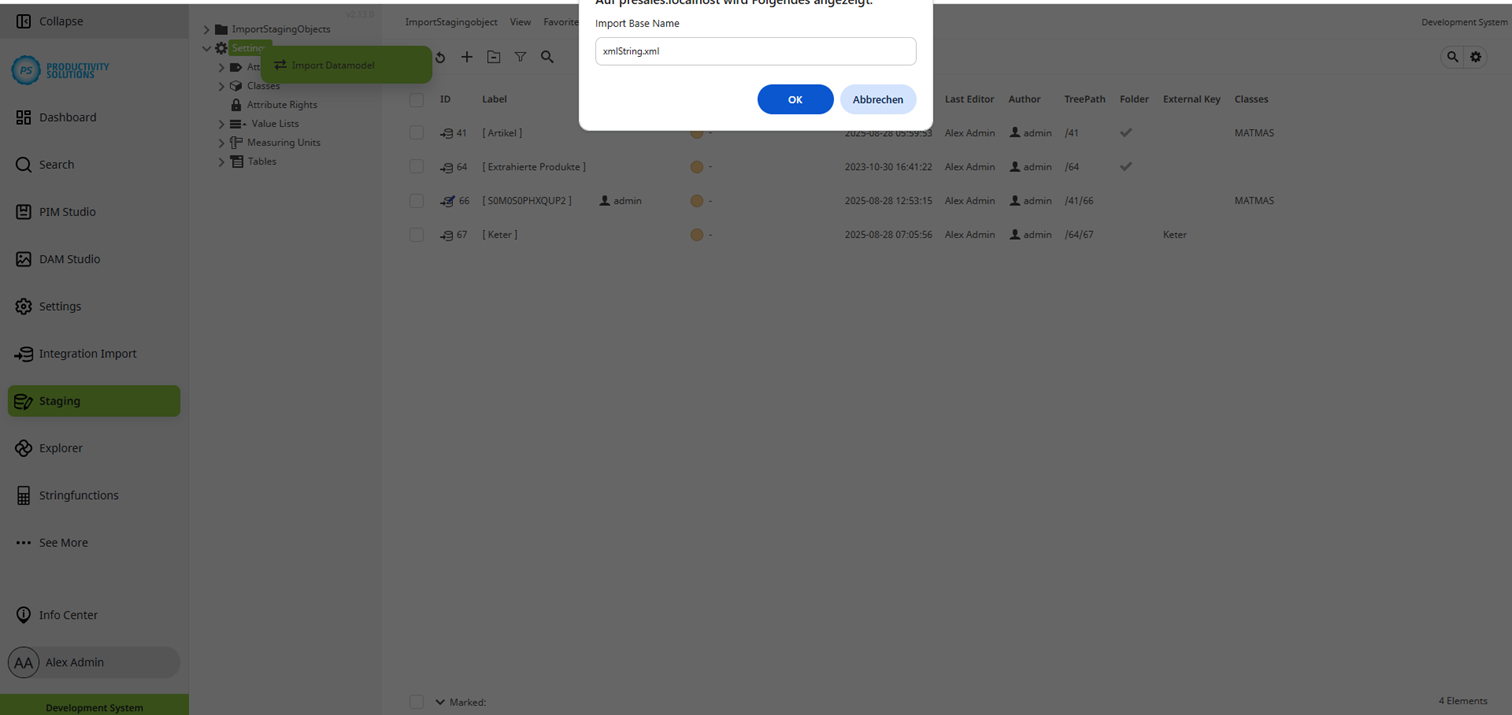
In the dialog box, enter the desired name of the parent node that you want to have created by the import in Staging Studio. Of course, you can rename the folder later.
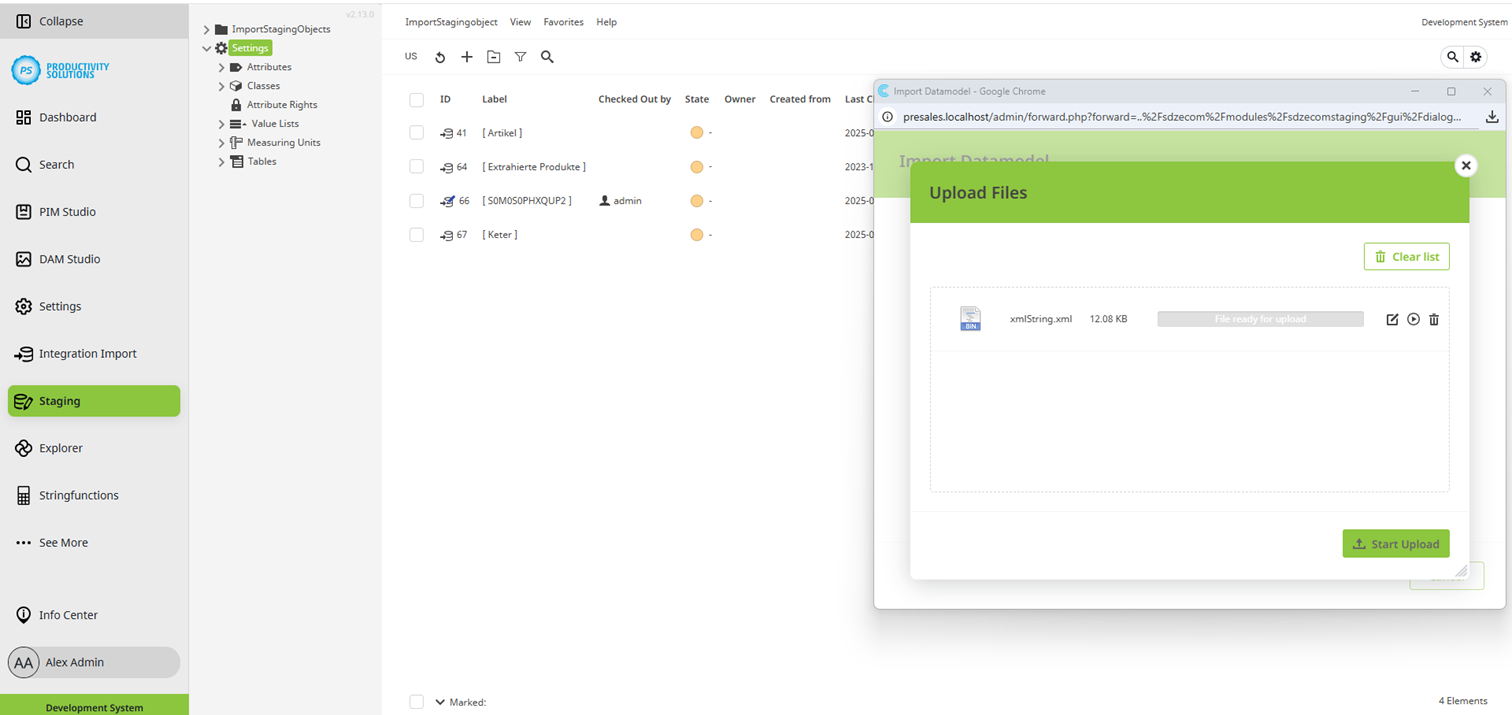
Upload the processed file that you downloaded previously (see point 2). The file name must not contain any special characters.
Before the final import the attributes to be created and the associated folders are displayed. Check whether the attributes and folders are correct.
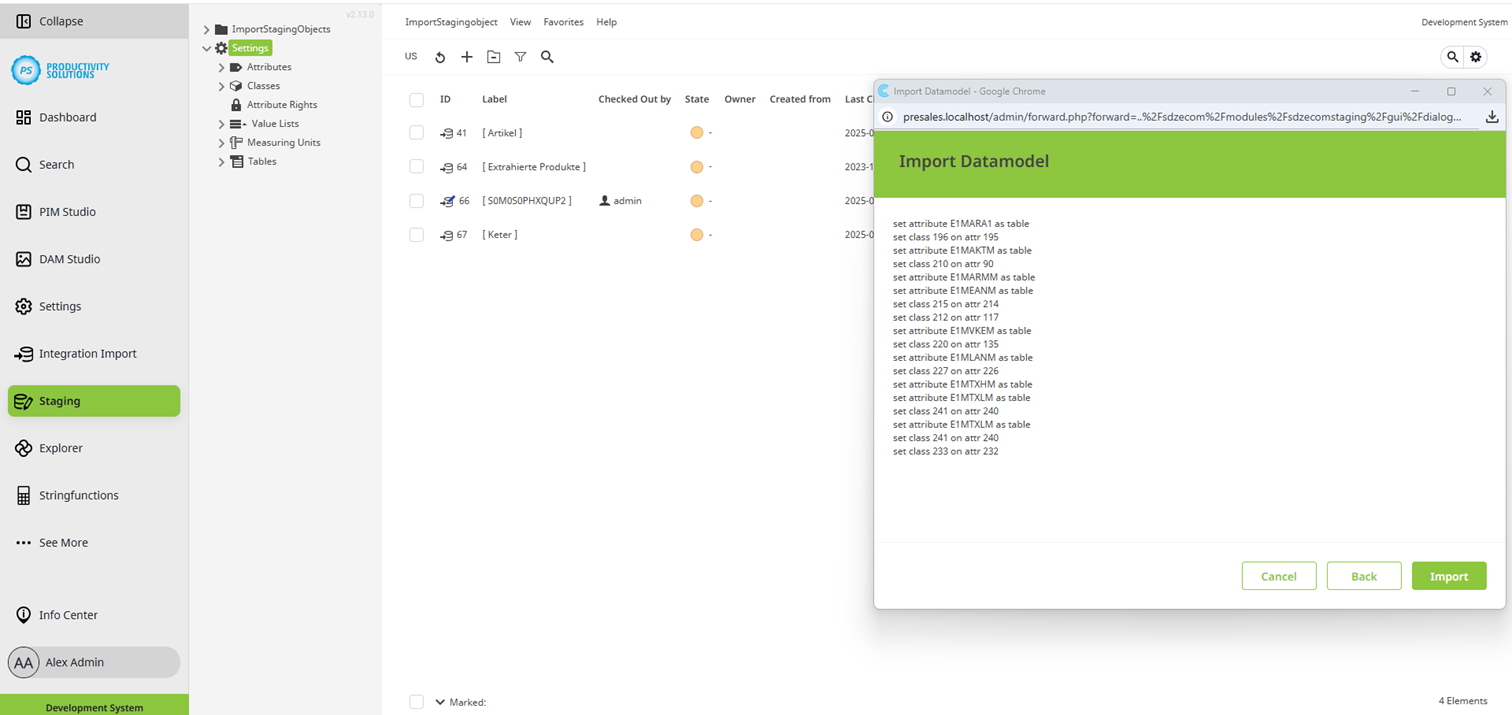
Click on “Import” to create the attributes with their parent folder. This allows you to create multiple imports from various source systems and create them with their own areas as a data model.
Refresh the view in the attributes folder to show the attributes. The classes are also created, and the attributes assigned accordingly. Each segment from the source file is assigned its own class. Table attributes and table classes are also created automatically.
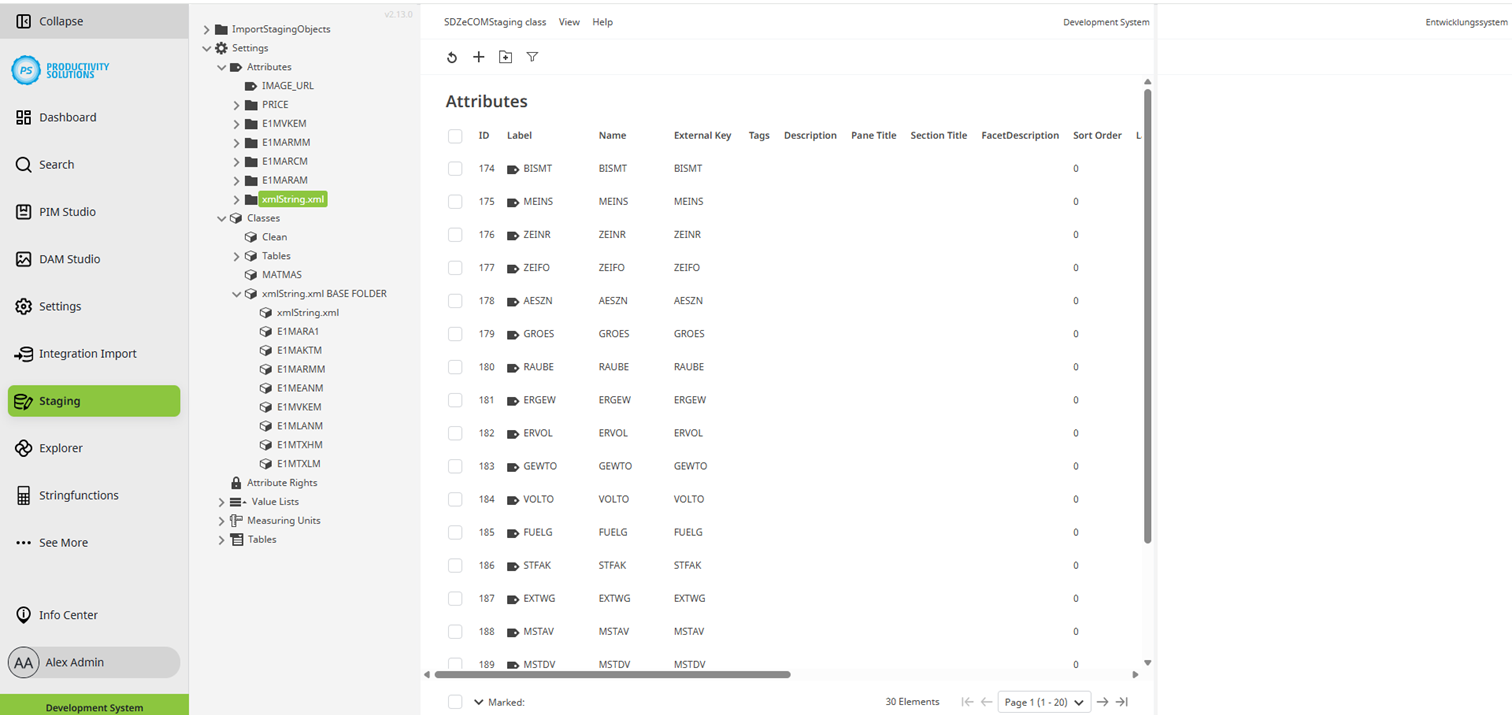
Note on classes: You can also hide attributes that are to be ignored in the data model import in the Staging area. The class assignments determine what is displayed there. The procedure is the same as in PIM or DAM Studio.